Custom theme provider in React Native
About styles in React Native
Styles in React Native application can get messy really fast if you don’t give them at least little attention from the very beginning. First of all, the inline styles are not a way to go. JSX already mixes presentation and logic layers a bit so there is no need to throw in a bunch of objects with styles and confuse the future self or anyone who might need to read and edit your code. A popular approach is to use React Native built-in StyleSheet and declare your styles outside of a component. You can also find other great methods, like styled-components, but we are not going to review all of them here. Feel free to explore and find a solution that suits you best.
You can place the StyleSheet styles in many different places in your project. The most straightforward method is to keep your styles in the same file as the component. In that case you don’t have to switch between files while working on a new component or when you need to find and change something later. The drawback is a larger file, but if you keep your components simple this shouldn’t be an issue.
Another approach is to create a separate file for each of the components. It separates logic from your styles and keeps your files short. Remember to keep your project structure clean if you choose this approach. It is a good practice to use the same name for a file containing styles as a component it corresponds to and add “.styles” infix. E.g. for MyButton.js create a MyButton.styles.js file. You can additionally place both files in a folder named after the component, like MyButton in this example. It’s up to you.
You may find yourself repeating identical styles for different components. Placing them in separate files allows you to reuse some of them which is in line with the DRY principle. However it leaves you with more complicated structure and may require a little more effort to locate the origin of a specific rule. Then of course there is also the naming issue – this approach would probably leave you with many generic “styles.js” files clouding your project tree.
This is only a gist and we could discuss this in much more detail, but as you can already see the subject is not as simple as it seems at first. All of the solutions have some pros and cons. Whichever you choose, creating a theme in your project can greatly improve it’s maintainability even if you don’t plan to create multiple themes for the user to select from, but of course it leaves the door open for future improvements. In this article I would like to show you how to create your own simple theme to profit from DRY principle at the same time placing StyleSheets in the same file as a component, because that’s the way that suits me best.
Demo app
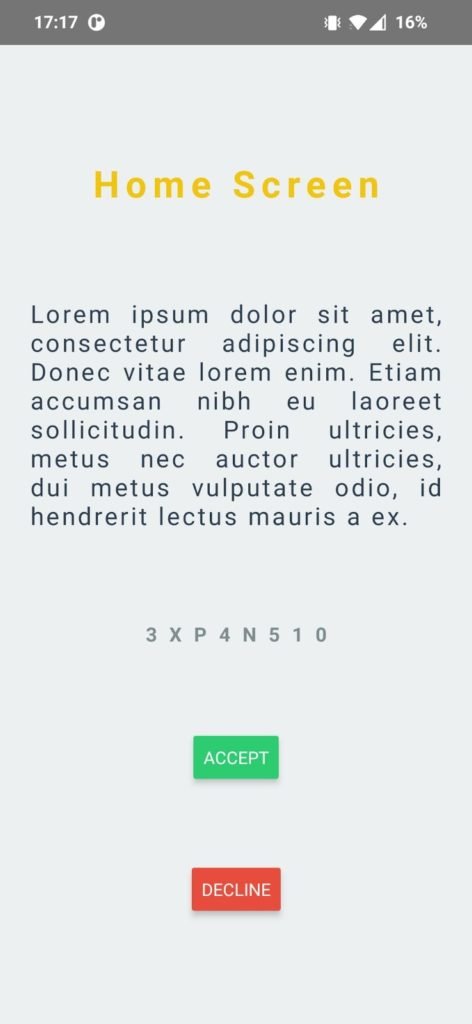
For the purpose of this article I’ve created a very simple and limited application in React Native with only one screen. It’s not pretty, but it should help to demonstrate the main concept in a limited environment without other distractions so that we can focus on the problem at hand. With the environment set up according to the documentation available at https://reactnative.dev/docs/environment-setup I’ve initialized a new project using the command below as per docs.
npx react-native init ThemeDemoApp
Project structure at the beginning is as follows:
- js
- src
- screens
- js
- styles
- theme
- screens
App.js
HomeScreen.js
This screen contains only a few elements, but there could be a variety of other components with much more complicated styles. Its purpose is to demonstrate a way of handling the styling of repetitive patterns like coloring some part green if it is to represent a success of some sort. It probably will be a recurring theme across your application and cannot be encapsulated within a single component.
 Organizing your styles
First thing to do is to move common values used in styling across your application to a single place in the project. This allows you to change a single line of code to immediately impact on the appearance of the entire application and will prevent any mismatch that arises as a result of simply forgetting about some files. We will also create a single file for each styling category. Rules related to fonts should not be mixed with colors or margins.
In the styles directory, in a colors.js file you can declare a palette for the whole application and then assign these colors to their own function. The naming is crucial and should rather reflect the overall purpose of the color. You don’t want to be too specific here and declare color names like “HomeScreenTitle” or “SettingsSecondRowText”. Choose names like “Title” or “SecondaryText” that will work for all components and not only a specific one. I’m going to move colors from HomeScreen here and declare their names according to this principle. You can create only a single theme, but I’m going to create a light and a dark theme that we can switch between later. There is also an object for the common colors that both themes use.
colors.js
I’ve also created a file for various font settings. These are just some predefined variants to use. It helps to ensure consistency in the whole application. If at some point you would like to change the font size you can just edit this single file. You can put many more options related to typography in here as long as you expect them to be shared by multiple screens. There could be many more files like these, e.g. with spacings, margins etc.
typography.js
Creating theme provider
With our styles declared, what we need next is a provider. It’s the component that wraps our application and provides access to theme properties to all the child components down the tree. We are going to use React Context for this job. If you are not familiar with this concept you can read more about it in the official documentation at https://reactjs.org/docs/context.html. Since we have both “light” and “dark” sets of colors there is a need to determine which one to use. I’m going to leave it for now and we will get back to it later.
ThemeProvider.js
We have to also modify the App.js file and enter the theme provider in it.
App.js
Consuming theme with hooks
Now we have to find a way to apply our theme in components. We could use Context.Consumer, but it’s better to profit from the newest features like hooks so we’re going to go for built-in useContext. You don’t want to repeat the code responsible for reading the theme in every component. To avoid it, we’re going to create custom hooks: useTheme and useThemedStyles. The first one will simply wrap preconfigured useContext and return the current theme state, the second one will go a step further and insert the theme as an argument to the provided function, which in turn will allow us to use it while creating StyleSheets.
Instead of declaring styles like this:
We’re going to create a function like this:
useTheme.js
useThemedStyles.js
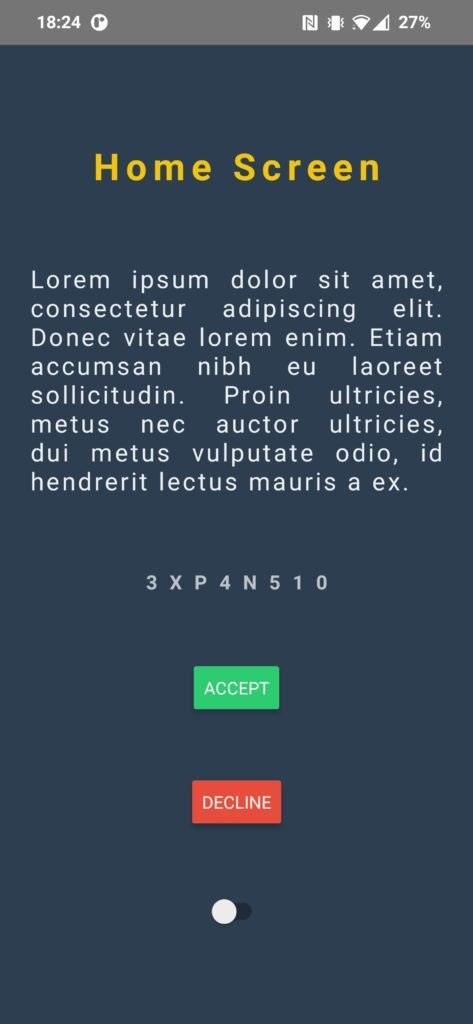
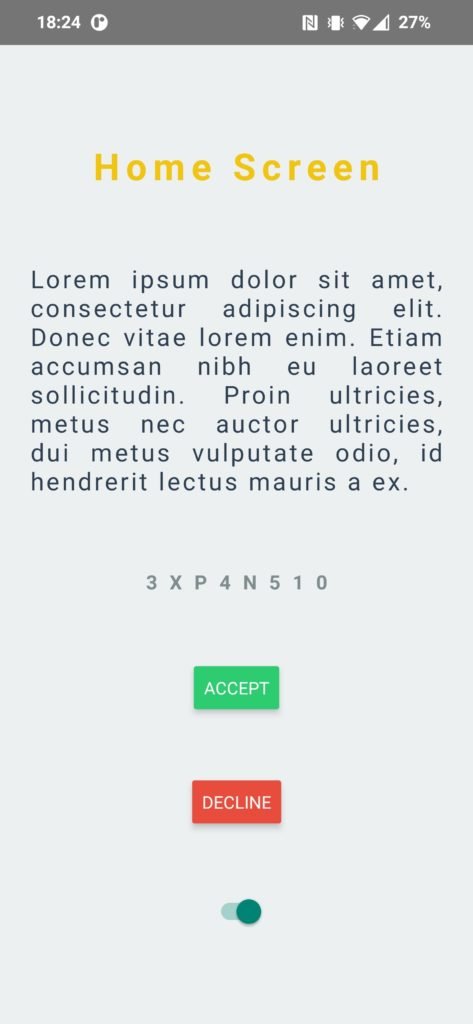
Now we can implement these hooks into the home screen. Below you can find the updated file. As you can see I used useTheme for passing colors directly as props and also useThemedStyles for the general styling. There is not always a need to use both of them, in most scenarios you would probably only use the second one. The screen should look exactly the same as before, but with a slightly bigger project it would make a huge difference. It’s easier to manage your configuration if it’s in one place.
HomeScreen.js
Switching themes
The last part is letting the user switch between available themes according to his preferences. I’ll show you only a limited version of this functionality, i.e. without storing settings in memory, because that’s a whole other story and is not actually a subject of this article. You should probably use Redux with something like redux-persist to fully take advantage of this approach to organizing your styles in React Native. Please keep in mind that I just want to show you what are your possibilities and what you can achieve when designing your theme this way.
Since I have only light and dark themes I’ll place a Switch component on the home screen. It would normally go to the settings screen , but we try to keep complexity to a minimum. I’ll also create a function in my provider for theme switching and place it again directly in the theme object, just to keep things simple.
ThemeProvider.js
HomeScreen.js
 Summary
Refactoring the whole application is not an easy task and therefore the way you start it’s development will greatly impact your project in the future. Consider spending a little more time on the preparation phase and it should profit in the future. I hope this article provided some useful information and will help you in organizing your styles better. You can find the whole code of the demo app at https://github.com/jedrzejwyzgala/ThemeDemoApp
